We are continuing our series of articles outlining the various steps in the CNC milling process. Our previous article covered the initial steps of designing the prototype, outlining the specifications for the prototype, and developing a 2D or 3D rendering of the prototype. Today, we will explore the next steps in the CNC milling process.
Export CAD Design into a CNC Milling Machine Format
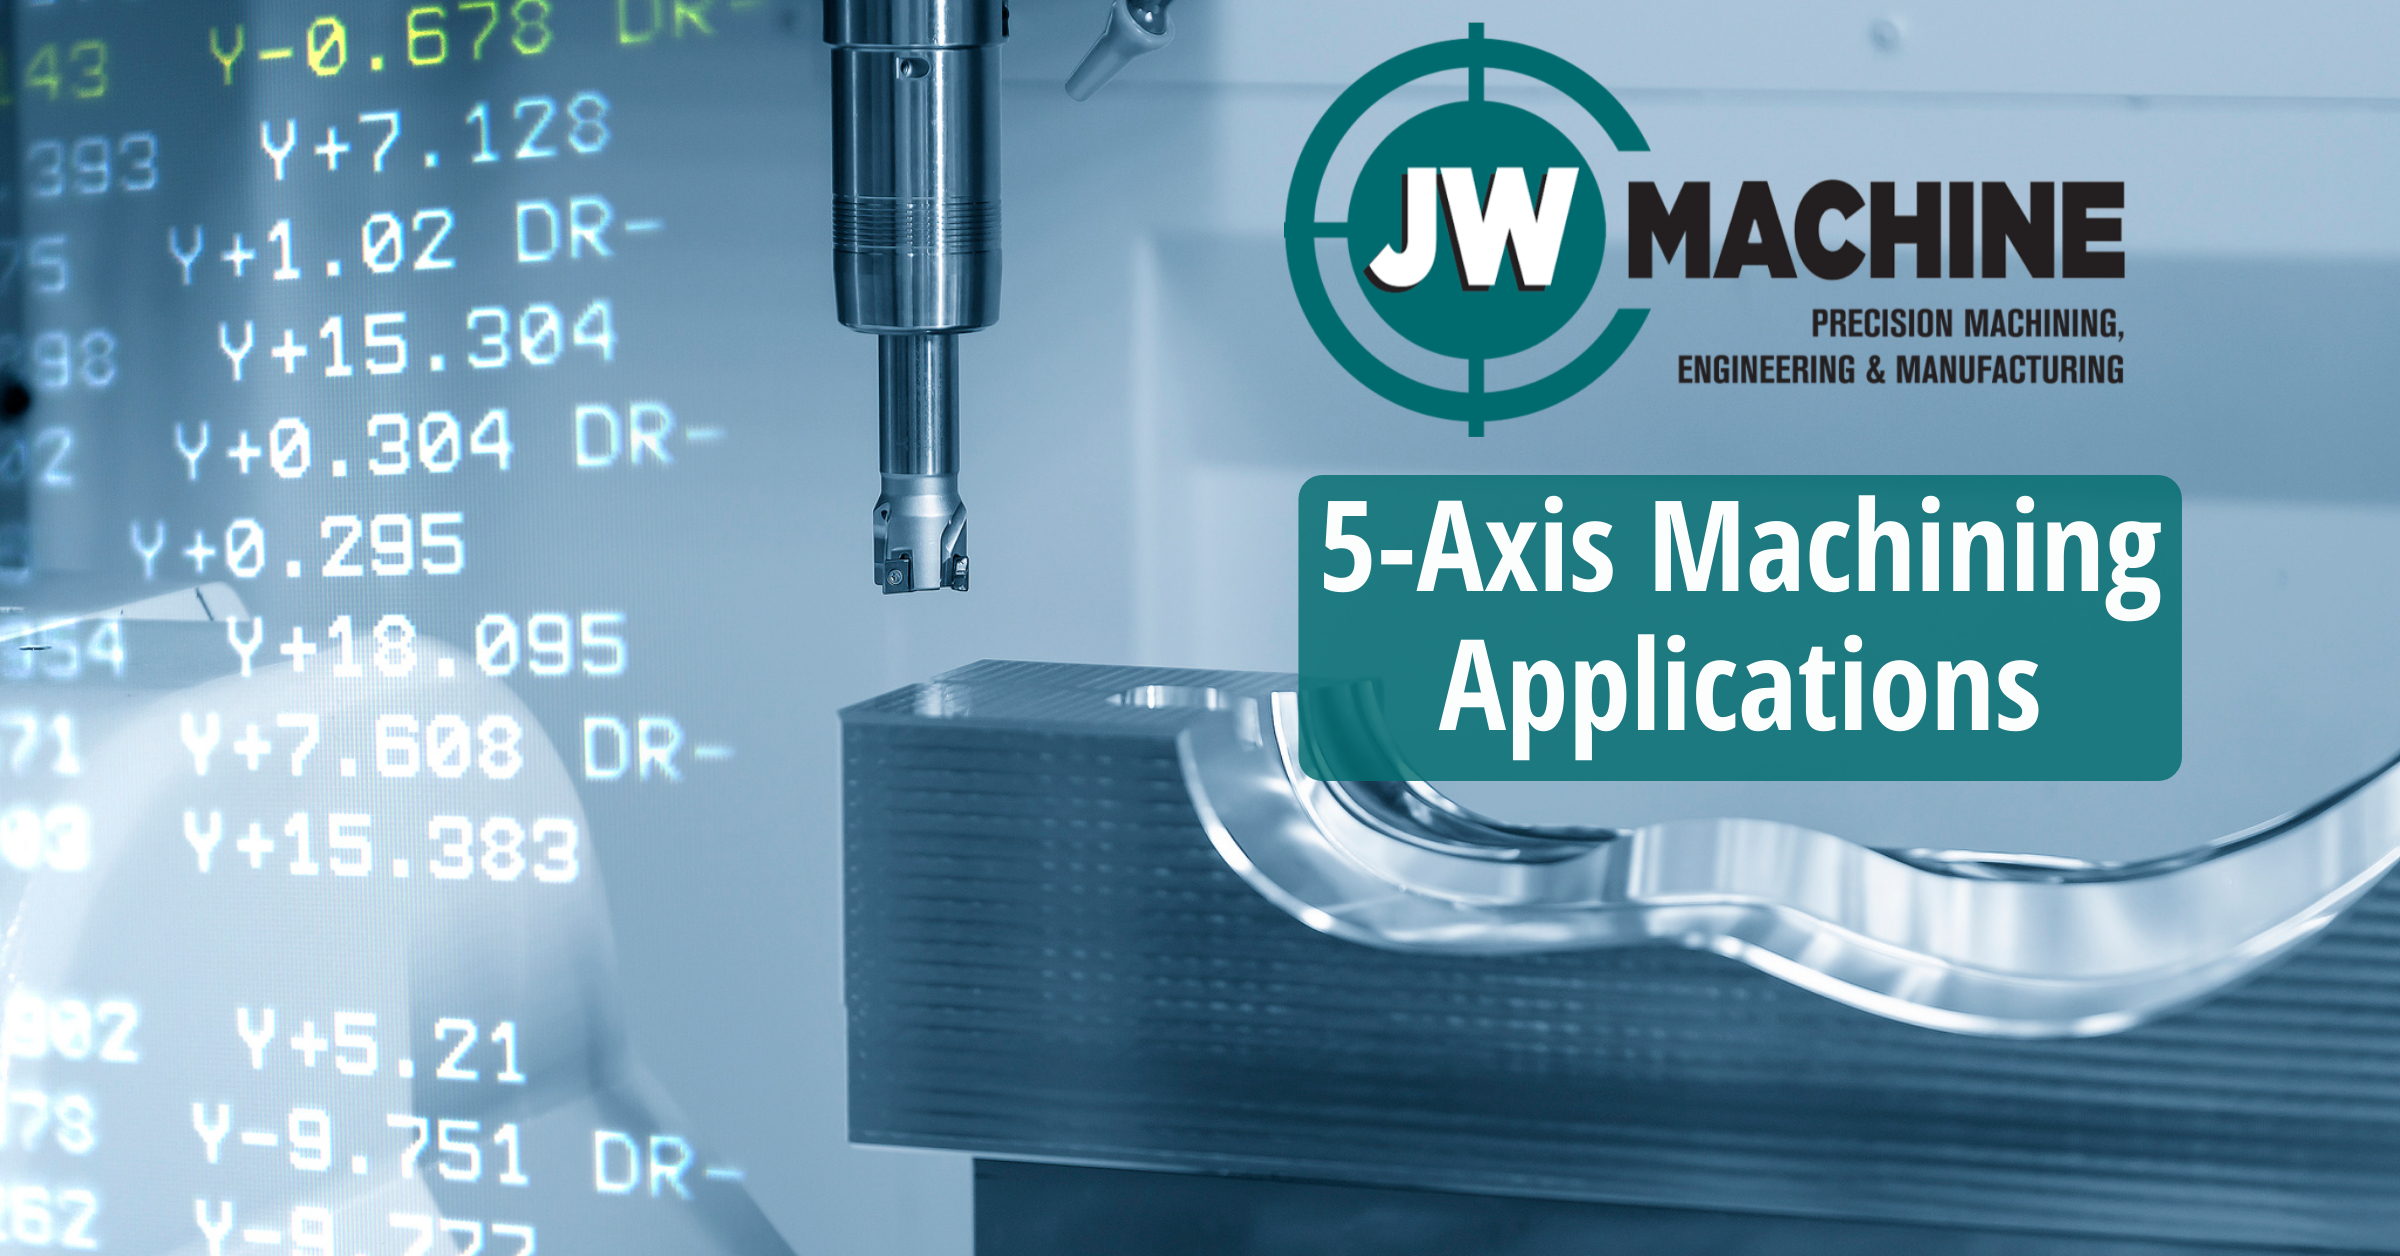
The next step in the CNC milling process is to export the CAD design into a format that is compatible with the CNC milling equipment being used. Standard formats are STL and STEP, but any compatible format is fine. This file will be used to guide the movements of the CNC milling machine and production of the final parts. 4-axis machining centers like the ones used by JW Machine can be programmed to process up to four sides of a part or component without adjusting the setup.
Configure the CNC Milling Machine
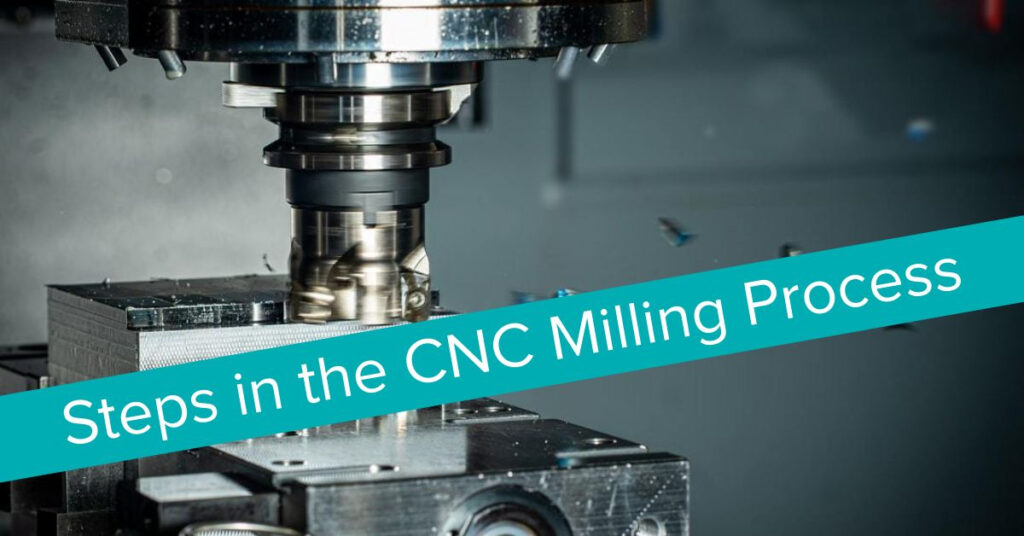
Next, the machinist will need to set-up and configure the CNC milling machine with the CAD design file, proper parts, positioning preferences, and cutting tools as specified in the prototype. The machinist may also configure the speed at which the CNC milling machine operates. JW Machine’s vertical machining centers feature CNC controls designed to simplify the programming process for our machinists, which, in turn, enhances overall productivity.
Our next article will look at more steps in the CNC milling process.
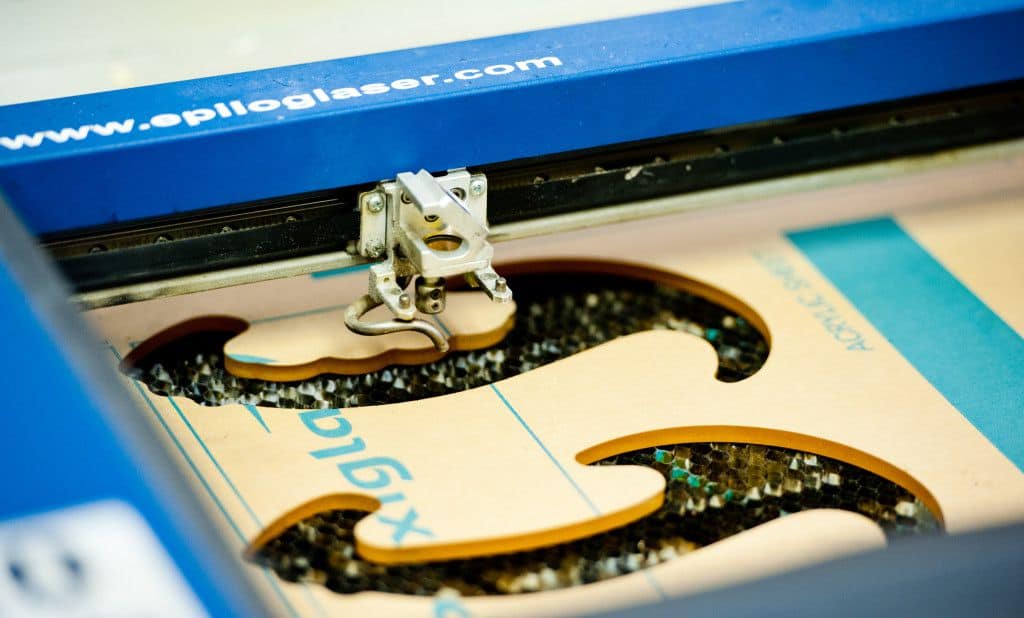
If you have an upcoming contract manufacturing or prototypes to production manufacturing project, you need an ISO 9001/ AS 9100 certified machine shop to partner with you. JW Machine works with all types of industries throughout the United States, including defense, aerospace, and OEM parts manufacturing. Some of our precision CNC machining services include laser cutting, laser engraving, CNC milling, CNC turning, small part machining, and close tolerance machining. Give us a call to learn more today!


